
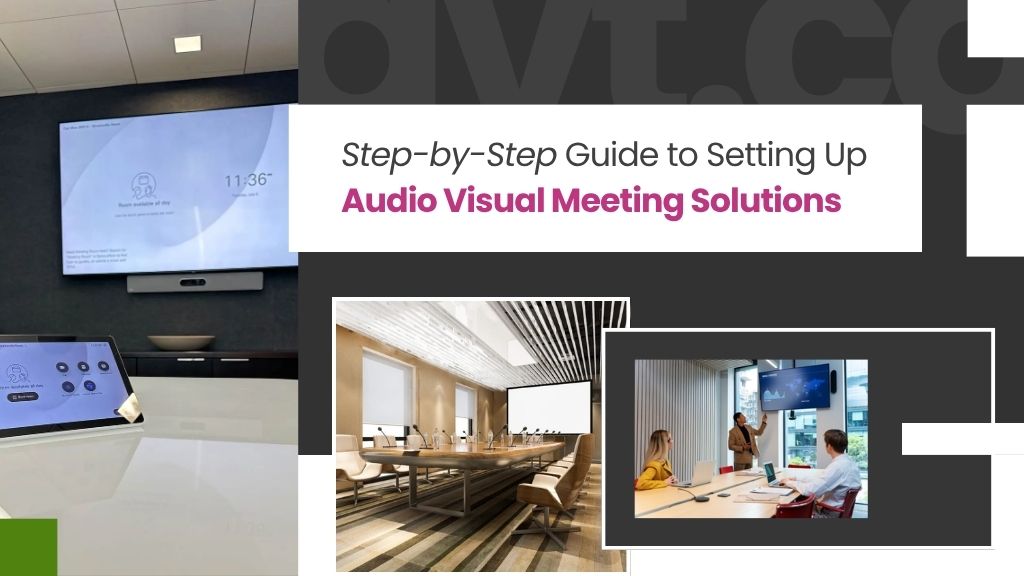
If you have ever walked into a meeting room and spent the first ten minutes just trying to get the screen to work, you already understand why proper audiovisual meeting solutions matter. Bad AV does not just waste time; it kills momentum, frustrates teams, and leaves a poor impression on clients. Getting it right, on the other hand, makes every meeting feel effortless.
This guide walks you through exactly how to set up meeting room audiovisual solutions from scratch, whether you are outfitting a small huddle space or a full boardroom.
Why Meeting Room Audio Visual Setup Matters More Than Ever
Hybrid work is now the norm across Canadian businesses. On any given day, half your team might be joining from home while the other half sits in the office. That gap, between the person in the room and the person on a laptop screen, is where most meetings fall apart.
The right meeting room audiovisual equipment closes that gap. Clear audio means remote participants do not have to ask “can you repeat that?” every two minutes. A sharp display means everyone can read the presentation without squinting. A reliable setup means the meeting actually starts on time.
This is not about buying expensive gear for the sake of it. It is about choosing the right components, placing them correctly, and making sure everything works together.
Step 1: Assess the Room Before You Buy Anything
This is the step most people skip, and it is the one that causes the most problems later.
Before purchasing any meeting audiovisual equipment, spend time understanding the space. Ask yourself:
- How large is the room? A 6-person huddle room and a 20-person boardroom have completely different requirements.
- What is the lighting situation? Natural light from windows can wash out displays if screens are positioned poorly.
- What are the acoustics like? Hard floors and glass walls create an echo. Carpeted rooms absorb sound differently.
- How many people will typically be in the room at once?
- Will the room mostly be used for internal calls, client presentations, or both?
Write these answers down before looking at any equipment. Your room assessment is the foundation of everything that follows.
Step 2: Choose the Right Display for Your Space
The display is the centrepiece of any meeting room audiovisual setup. Get this wrong and everything else suffers.
For rooms up to about 4 metres in length, a single large display, typically between 65 and 86 inches, works well when mounted at eye level at the front of the room. For longer rooms or wider boardrooms, you may need dual displays or a video wall to ensure everyone has a clear sightline.
A few things to keep in mind when selecting a display:
Resolution, 4K displays are now standard and well worth the investment. Text and presentation slides look noticeably sharper, which matters when people are reading content from across the room.
Brightness, measured in nits. If your room gets significant daylight, look for a display rated at 500 nits or higher to maintain visibility.
Mount placement, The centre of the screen should sit at roughly seated eye level, or slightly above. Mounting too high forces people to crane their necks and creates discomfort during longer sessions.
Step 3: Sort Out Your Audio First
This surprises a lot of people, but audio is more important than video in meeting room audiovisual solutions. You can follow a meeting with a slightly blurry camera. You cannot follow it if you cannot hear what someone is saying.
There are two sides to audio: capture and playback.
Microphones, for small huddle rooms, a tabletop conference microphone placed in the centre of the table works well. For larger boardrooms, ceiling-mounted array microphones are the better choice. They pick up voices from across the room without requiring anyone to lean toward a device, and they keep the table surface clean and uncluttered.
Speakers, In-ceiling speakers provide even sound distribution and a clean aesthetic. Wall-mounted or display-integrated speakers can work for smaller rooms, but they often create uneven audio coverage in larger spaces.
One thing to always check is echo cancellation. Any quality meeting audio-visual system should include acoustic echo cancellation (AEC) to prevent the annoying feedback loop that happens when speaker output gets picked up by the microphone.
Step 4: Select Your Camera
Camera quality has improved dramatically in recent years, and even mid-range options now produce excellent results.
For huddle rooms and small meeting spaces, a wide-angle USB conference camera mounted just below or above the display works well. Look for something with at least 1080p resolution and a field of view wide enough to capture everyone seated at the table.
For larger rooms, PTZ (pan-tilt-zoom) cameras give you much more control. These can be programmed to automatically track the active speaker or switch between preset positions, useful when different presenters are standing at different parts of the room.
Camera placement matters significantly in meeting room audio-visual setups. Mounting the camera at display level, roughly at seated eye level, creates a natural sightline for remote participants. Mounting it too high makes it feel like remote attendees are looking down at in-room participants, which creates a subtle but real sense of imbalance in the conversation.
Step 5: Set Up Your Control System
Once you have your display, audio, and camera in place, you need a way to control them. This is where many meeting room audio-visual setups become either seamless or frustrating.
A room control system, typically a touch panel mounted near the door or on the conference table, lets you manage everything from one place. Turn the display on, adjust volume, switch inputs, raise motorized shades, and control room lighting, all from a single interface.
For simpler setups, an HDMI switcher and a basic control panel may be all you need. For more complex installations with multiple inputs, automated lighting, motorized screens or projector lifts, a programmable control system from a platform like Crestron, Extron, or QSC gives you the flexibility to build a truly integrated experience.
The goal is that anyone in your organization can walk into the room and start a meeting within 60 seconds without calling IT.
Step 6: Integrate With Your Collaboration Platform
Most Canadian businesses are running meetings through Microsoft Teams, Zoom, or Google Meet. Your meeting room audiovisual equipment needs to work natively with whichever platform your team uses.
Dedicated room systems, like Microsoft Teams Rooms or Zoom Rooms hardware, are purpose-built for this and offer a much more reliable experience than plugging a laptop into a monitor and hoping for the best. They connect directly to your calendar, show upcoming meetings on the room display, and let anyone join with one tap.
This kind of integration is what separates a meeting room that people enjoy using from one they actively avoid.
Step 7: Cable Management and Final Finishing
This step is often overlooked during planning but makes an enormous difference to how professional the room looks and how reliable it is day to day.
All cables should be routed through walls, under floors, or through cable management channels, not taped along the wall or running loose across the floor. Any connection points on the table (HDMI, USB, power) should be recessed or flush-mounted rather than hanging off the edge.
A well-finished installation signals quality and builds confidence that the room was built to last, not just thrown together.
Step 8: Test Everything Before the Room Goes Live
Before handing the room over, run through a complete test from both sides, in-room and remote.
Call in from a laptop and check how in-room participants look and sound from the remote perspective. Then sit in the room and evaluate the remote participant experience on the display. Walk around the table and confirm the microphone picks up voices from every seat. Test all inputs, check that the control panel works correctly, and confirm that the collaboration platform connects and disconnects cleanly.
Document any issues and resolve them before the room is in active use.
Common Mistakes to Avoid
After years of installing meeting room audiovisual solutions across the GTA and beyond, the same mistakes come up repeatedly:
- Buying the camera first, Audio always deserves more attention and budget than most people give it
- Ignoring room acoustics, Hard, reflective surfaces need to be addressed with acoustic panels or soft furnishings
- Undersizing the display, when in doubt, go larger. You will never hear anyone complain that the screen was too easy to read
- Skipping professional installation, A system is only as good as its installation. Poor cable management and incorrect component placement cause issues that persist for years
Final Thoughts
Setting up audiovisual meeting solutions is not just a technology decision, it is an investment in how your team communicates and how your business presents itself. A room that works reliably, sounds clear, and looks sharp changes the feel of every meeting that happens inside it.
Whether you are upgrading a single conference room or fitting out an entire floor, taking a methodical approach, assessing, selecting, installing, integrating, and testing makes the difference between a room people love and one they learn to work around.
If you are based in Toronto or anywhere across Canada and want help planning or installing meeting room audiovisual solutions, the team at AVT.ca has been doing exactly this for years. Reach out and let’s talk about what your space needs.